To help out practices using TotalMD’s Scheduler, you are able to apply Reason Codes to different types of appointments. This can be done in two different ways.
Creating Reasons Through the List
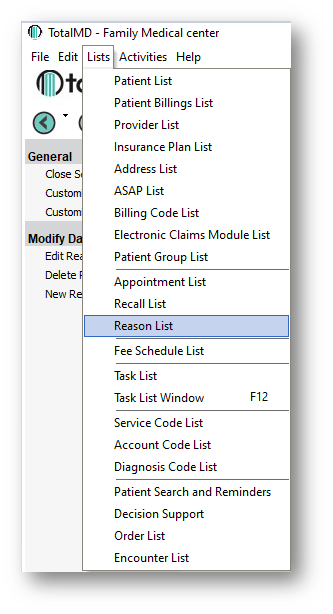
The first way is to go to Lists>Reason List:
You will then see any Reasons that have already been corrected if they are there:

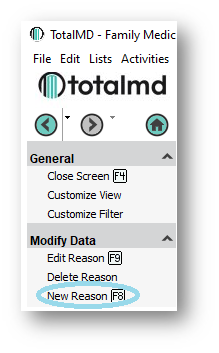
You can then Edit or Delete any existing reasons, or add a New Reason:
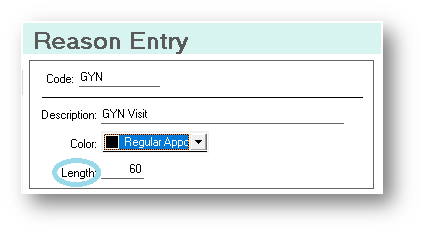
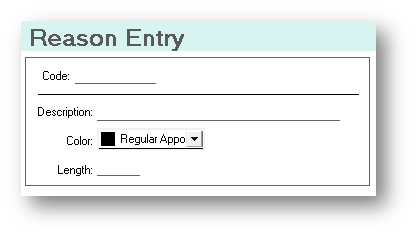
Once you Add a New Reason, you will see the Reason Entry screen:
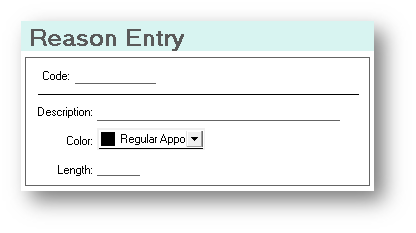
You will give it a Code such as GYN, a description such as Gyn Visit and choose a color for the visit:
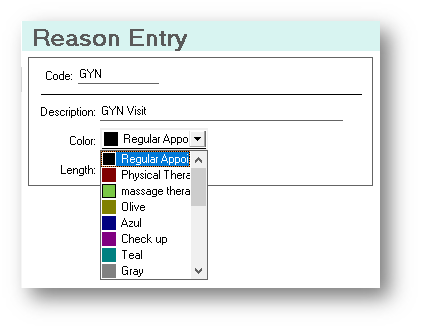
Once you have chosen a color, you will give the appointment a length of time:
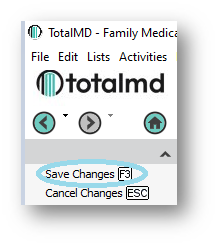
You will then Save Changes to the left:
In the Reason List, you will now see your new Appointment Reason:

Adding a Reason Code from the Scheduler
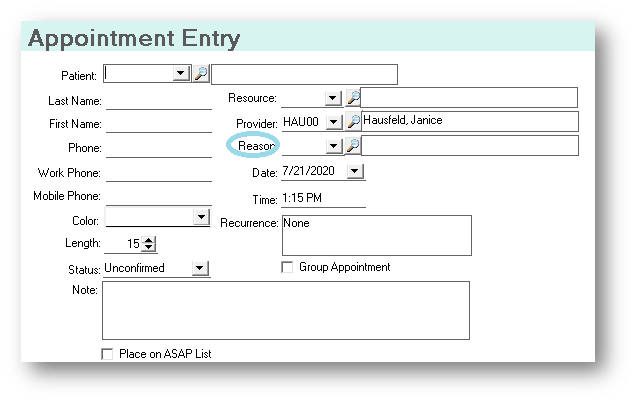
From within an appointment, you can add a Reason Code as well. Start an appointment as you normally do and then in the Appointment Entry screen, you will see the Reason area:
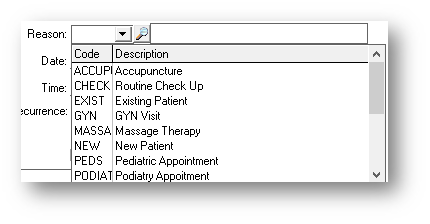
You can do the drop down and it will show you the existing Reason Codes:
Or, you can right-click in the drop down area and it will give you the opportunity to add a New Reason:

Choosing that will take you to the Reason Entry screen, where you will proceed as previously described:
If you have questions regarding this functionality of TotalMD, please contact our support or training departments at 800-613-7597 Option 2 for Support or Option 3 for Training. If you would like a printable copy of this article, please contact Training at Option 3.